RF Clickers are configured as Normal by default. A Normal RF Clicker stays with the student and can be used in any Open Class. Normal Clickers do not have to be configured. Click on the Clicker configurations on the sample screen shot below to learn about them.
The following describes the basic process for configuring RF Clickers. If you are configuring Closed Clickers and Closed Loaner Clickers, please refer to the discussion in the InterWrite PRS User's Guide on Configuring RF Clickers for a Closed Class in Chapter One, PRS Menus, RF Menu.
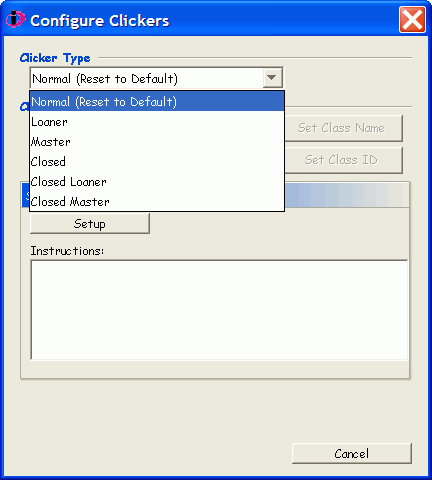
Select the Clicker Type from the drop-down menu.
Click on the Setup button to display the Setup Instructions for the Clicker Type you chose.
Turn on all the Clickers you are going to configure as the selected Clicker Type, and press the <Quick Jump> number on each Clicker.
The "Configuration Class" name is displayed
on each Clicker LCD. Press the Enter/Send key  to join each
Clicker to the Configuration Class.
to join each
Clicker to the Configuration Class.
Each Clicker LCD display will confirm the Clicker Type assignment and the Join ID automatically assigned to it.